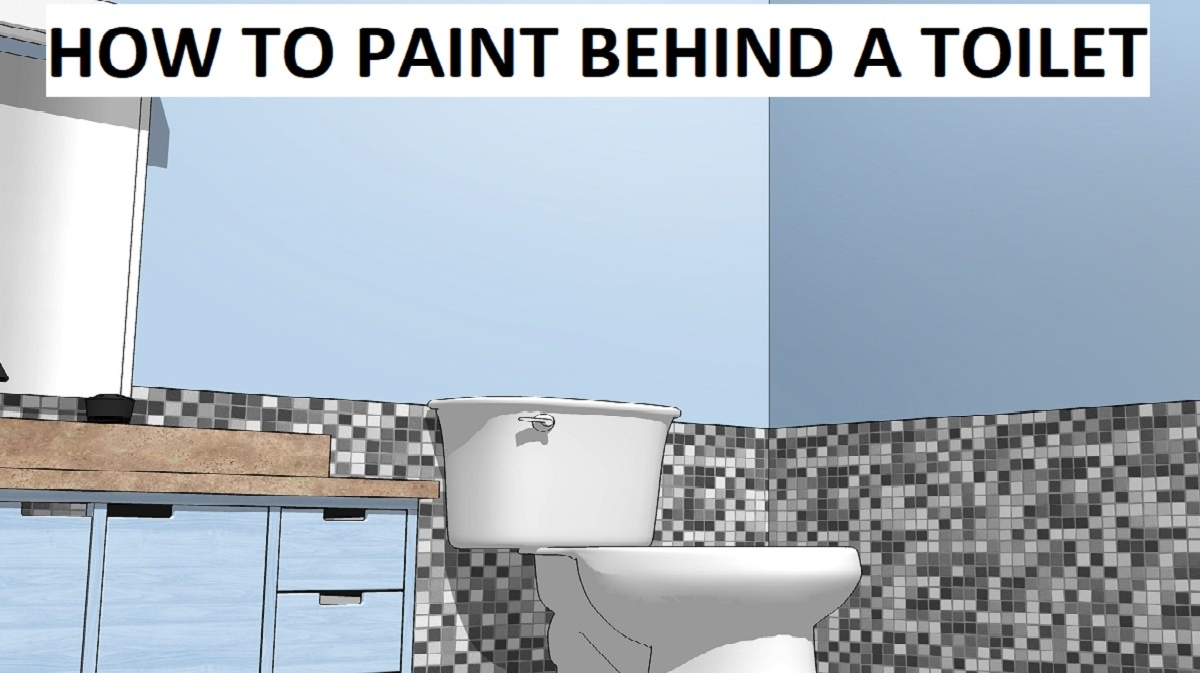
Are you planning to repaint your bathroom? Here are some techniques that will help you paint even in the hardest places — behind the toilet tank- so you can get results that are professional looking. You can use it even for a corner toilet.
The space behind a toilet is a difficult part of the bathroom to maintain. It is a challenging part when you are planning to repaint. A toilet tank that is not quite flush against the wall does not have enough space to operate a brush, but is enough to be noticed if left, while the rest of the room gets a fresh coat of paint. Luckily here are two easy options of how to paint behind the toilet, neither of which will require the bulky ceramic to be taken out of the way.
OPTION 1
Cover the toilet with a trash bag and line the floor with a drop cloth. This option works perfectly when you are repainting the whole bathroom or just the wall where your toilet is.

OPTION 2
Use a special tool called Jimmy Sponge Stix to slide in the narrow space behind the toilet and pad on paint. Combine this with option 1 for a flawless paint job.
THINGS YOU NEED
Before you start, make sure you have selected the right primer and paint. Bathrooms are exposed to humidity and moisture, so choose a paint that can withstand both. Paints with antimicrobial additives or an interior paint with a high or semi-gloss finish that repels moisture are good options. But do not forget to begin with a top-quality, moisture-resistant paint primer. When you use the right primer, peeling and water damage can be prevented for years.
TOOLS AND MATERIAL
- Paint Primer
- Semi or high gloss paint
- Mild detergent
- Terry cloths
- Cellulose sponge
- Fan
- Drop cloth
- Painter’s mask
- Paper towels
- Painter’s tape
- Garbage bag extra large
- Paint tray
- Mini paint roller
- Jimmy Sponge Stix
- 3” wide foam paintbrush
- 1” wide angled paintbrush
OPTION 1: COMPLETELY COVER A TOILET WITH A TRASH BAG, THEN BRUSH FREELY
When you are painting the entire bathroom, prep your toilet with a drop cloth before starting but save the painting behind the toilet for the last.
Step 1: Ensure proper ventilation
Remove the shower curtain, floor rug, all the towels. If you have windows in the bathroom, open them or run the ventilation fan. If you do not have any, plug in a small circulating fan. Wear a painter’s mask to prevent fume inhalation.
Step 2: Dust and prep the area behind the toilet
Using a mild cleanser and a cellulose sponge, remove the dust and hair build up around the floor, wall and surface of the toilet. Dry thoroughly using terry cloths.
Now cover the floor around the toilet with a plastic sheet or tray and secure it with painter’s tape.
Cover the toilet with an extra-large garbage bag. Tape it in place, and any part that is exposed wrap it with painter’s tape.
Step 3: Primer and paint
Begin with 1 to 2 coats of primer. To reach behind the toilet and around the pipes, follow these steps:
- Use the narrow paint roller for applying the paint primer around the toilet and cut in as best as you can.
- Now using the 3” wide foam brush paint behind the toilet. Loading just one side of the brush with paint primer, apply small strokes, keeping the paint covered side in direct contact with the wall.
- With the 1” wide angled brush do the detail work around the pipes.
Now let this primer dry and then apply the paint. Follow the same steps, after the first coat let it dry completely before applying the topcoat.
OPTION 2: PURCHASE A SPECIAL PAINTING TOOL TO ACCESS THE AREA BEHIND A TOILET TANK
This process can be much easier if you use a tool specially designed for this purpose, like Jimmy Sponge Stix, which can be bought easily for less than $13.
Step 1: Ventilate the bathroom and then prep for the paint
Follow the same steps as option 1 for ventilation.
Jimmy Sponge Stix can be used for cleaning the wall behind the toilet. Just dampen the spongy side with soap and water and slide it against the wall to remove dust or mildew. Let the wall dry and meanwhile, clean the stix and let it dry before painting.
Step 2: Roll primer and then paint on the Jimmy Sponge Stix
With a traditional paint roller rolled in paint primer, roll it over the spongy side of the Jimmy Sponge Stix. Then glide this down the wall behind the toilet, firmly pressing it. Apply two coats of primer, letting one dry before doing the other. Clean the stix and repeat the process with two coats of paint.